So. Sorry for the long break, it has been busy. Traveling soups up energy, the BLOG is the first to suffer.
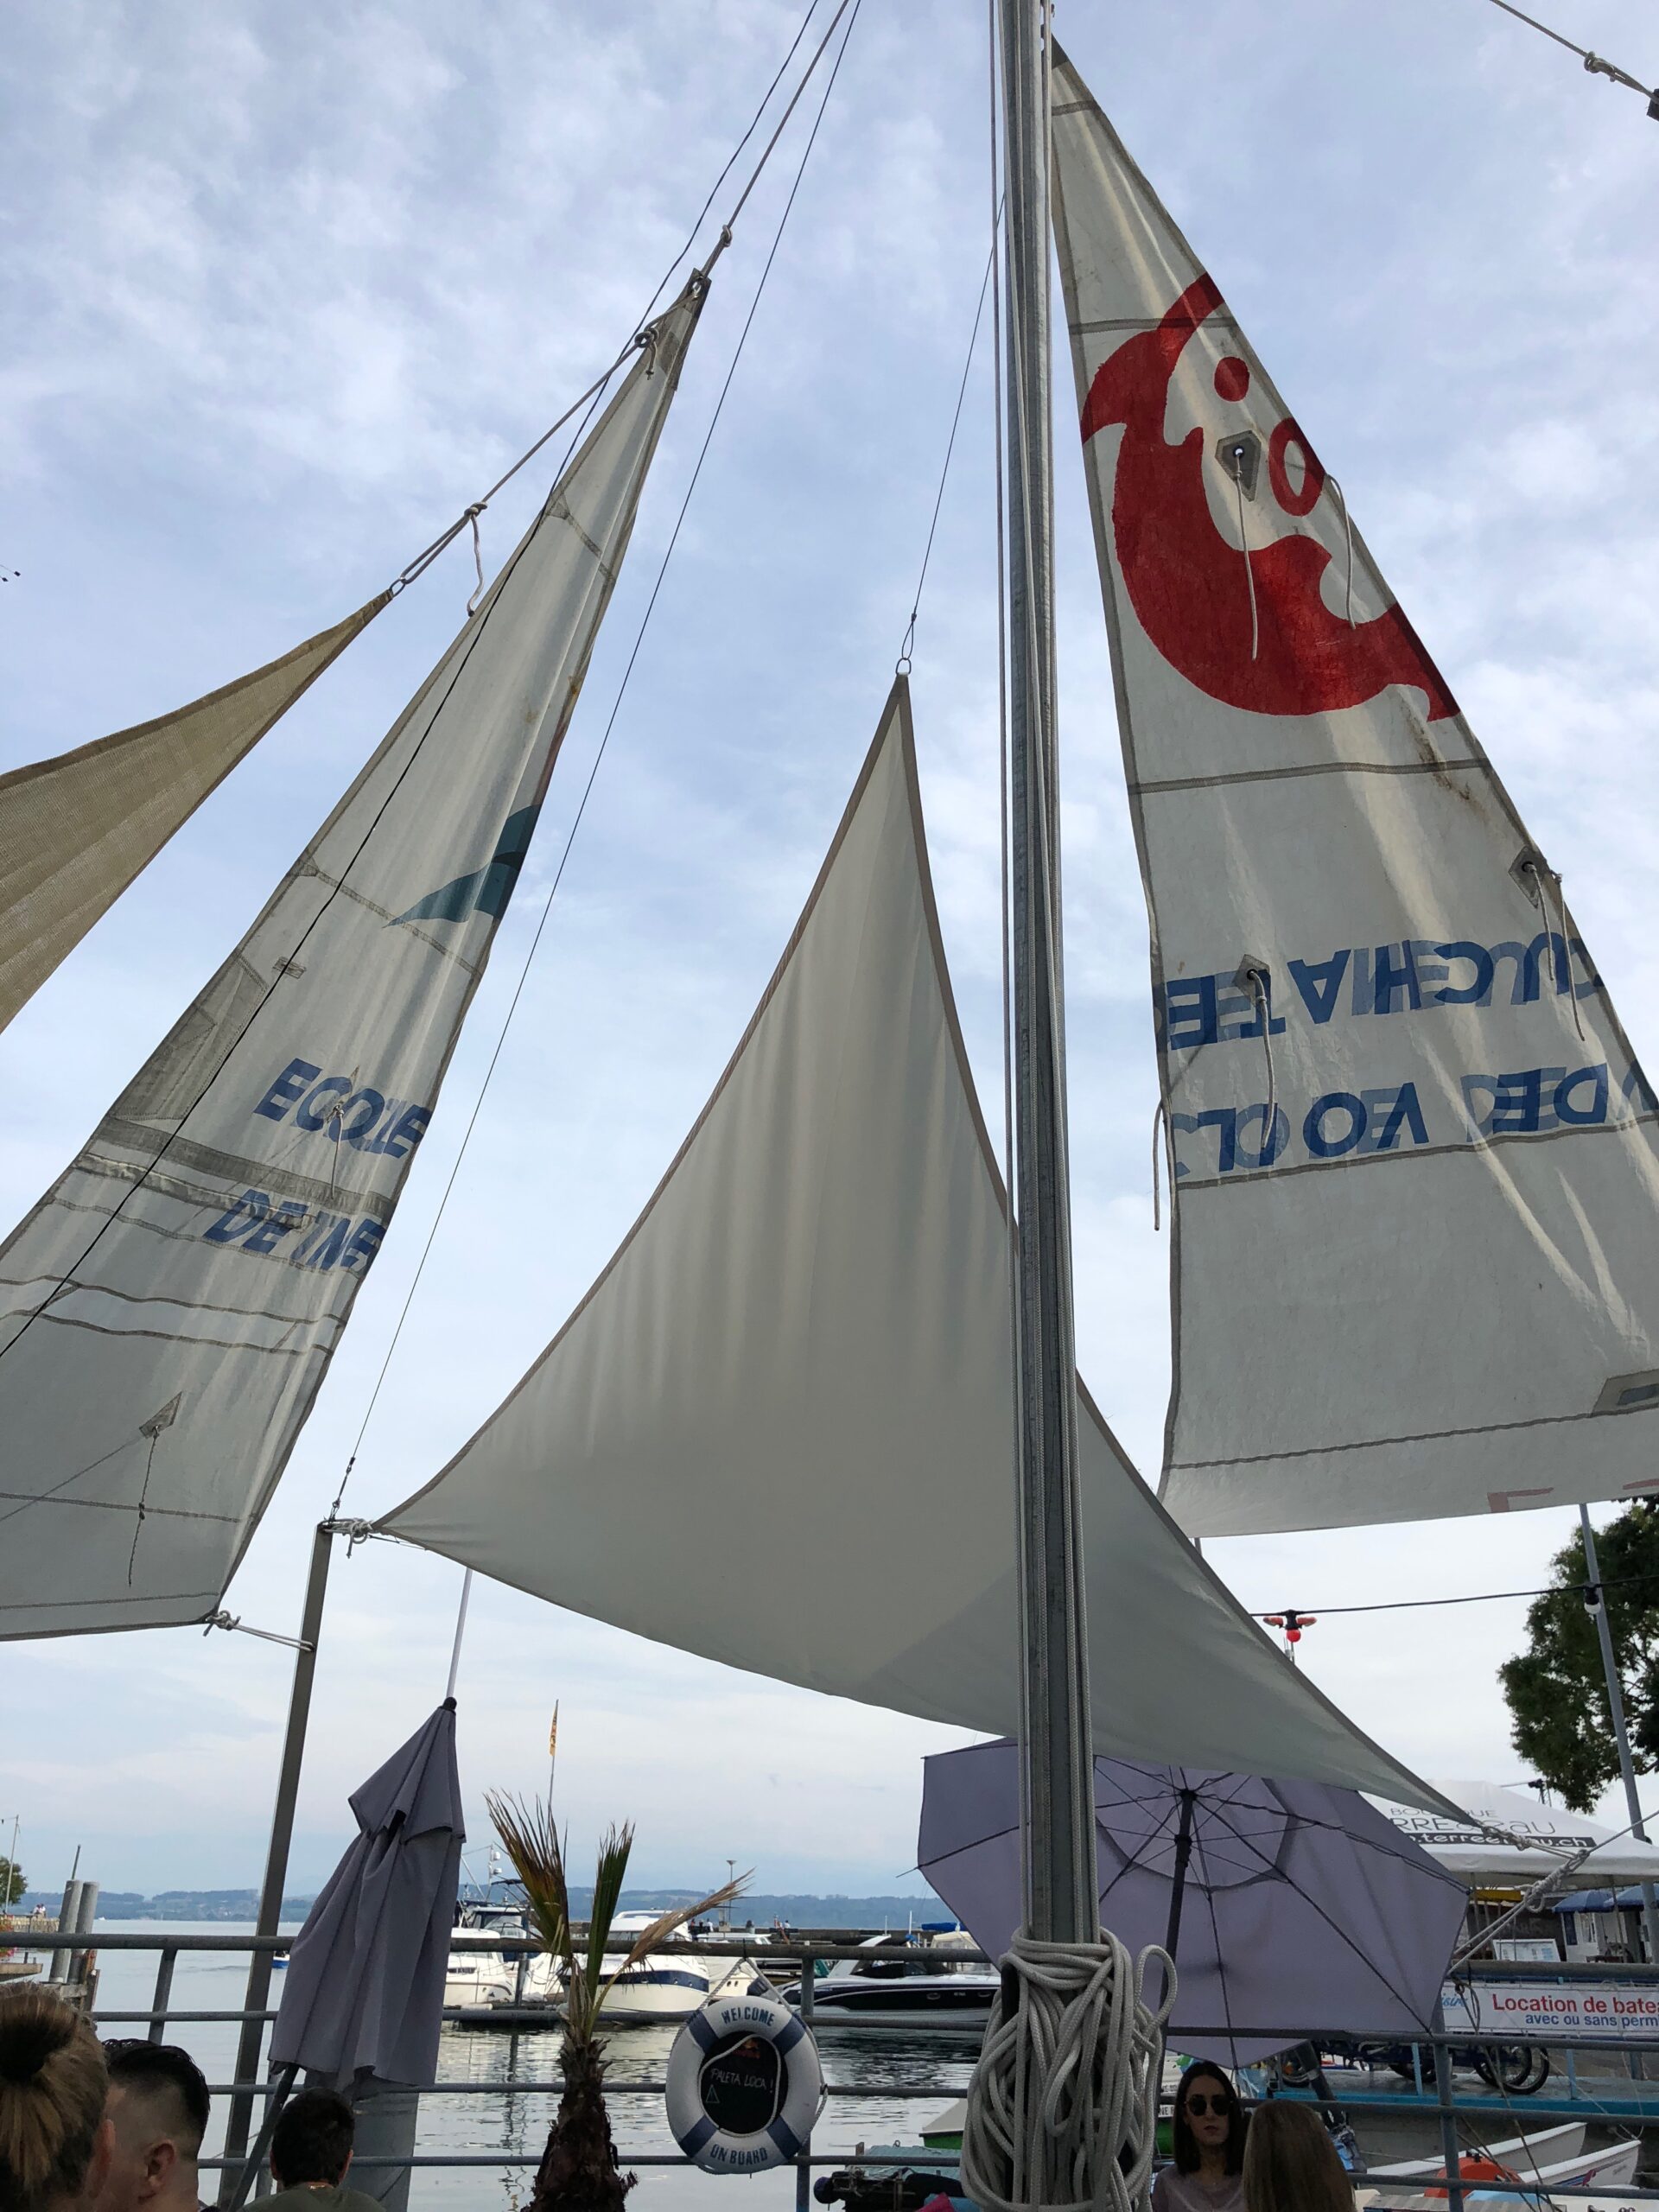
I was in Munich during Oktoberfest, again like last year. I am not a big fan of large parties with hundreds of thousands of people. I like beer but I enjoy it more when it is quite.
But I was invited by IBM and there were enough people I know so I went there. First speak with IBM about their products and then Friday night on the way to the “Schützenzelt” to drink some beers.
For the people who are not familiar with the Oktoberfest, it is an ancient tradition in Munich where people celebrate the harvest of the hop, which is used to make beer….
It is not in October, at least not completely, it starts in September.
It has become world famous and now there are many visitors from around the world.
So. At IBM discussing their products… Yes but the selling of their products… not the technical details, will do that at another congress, later this year.
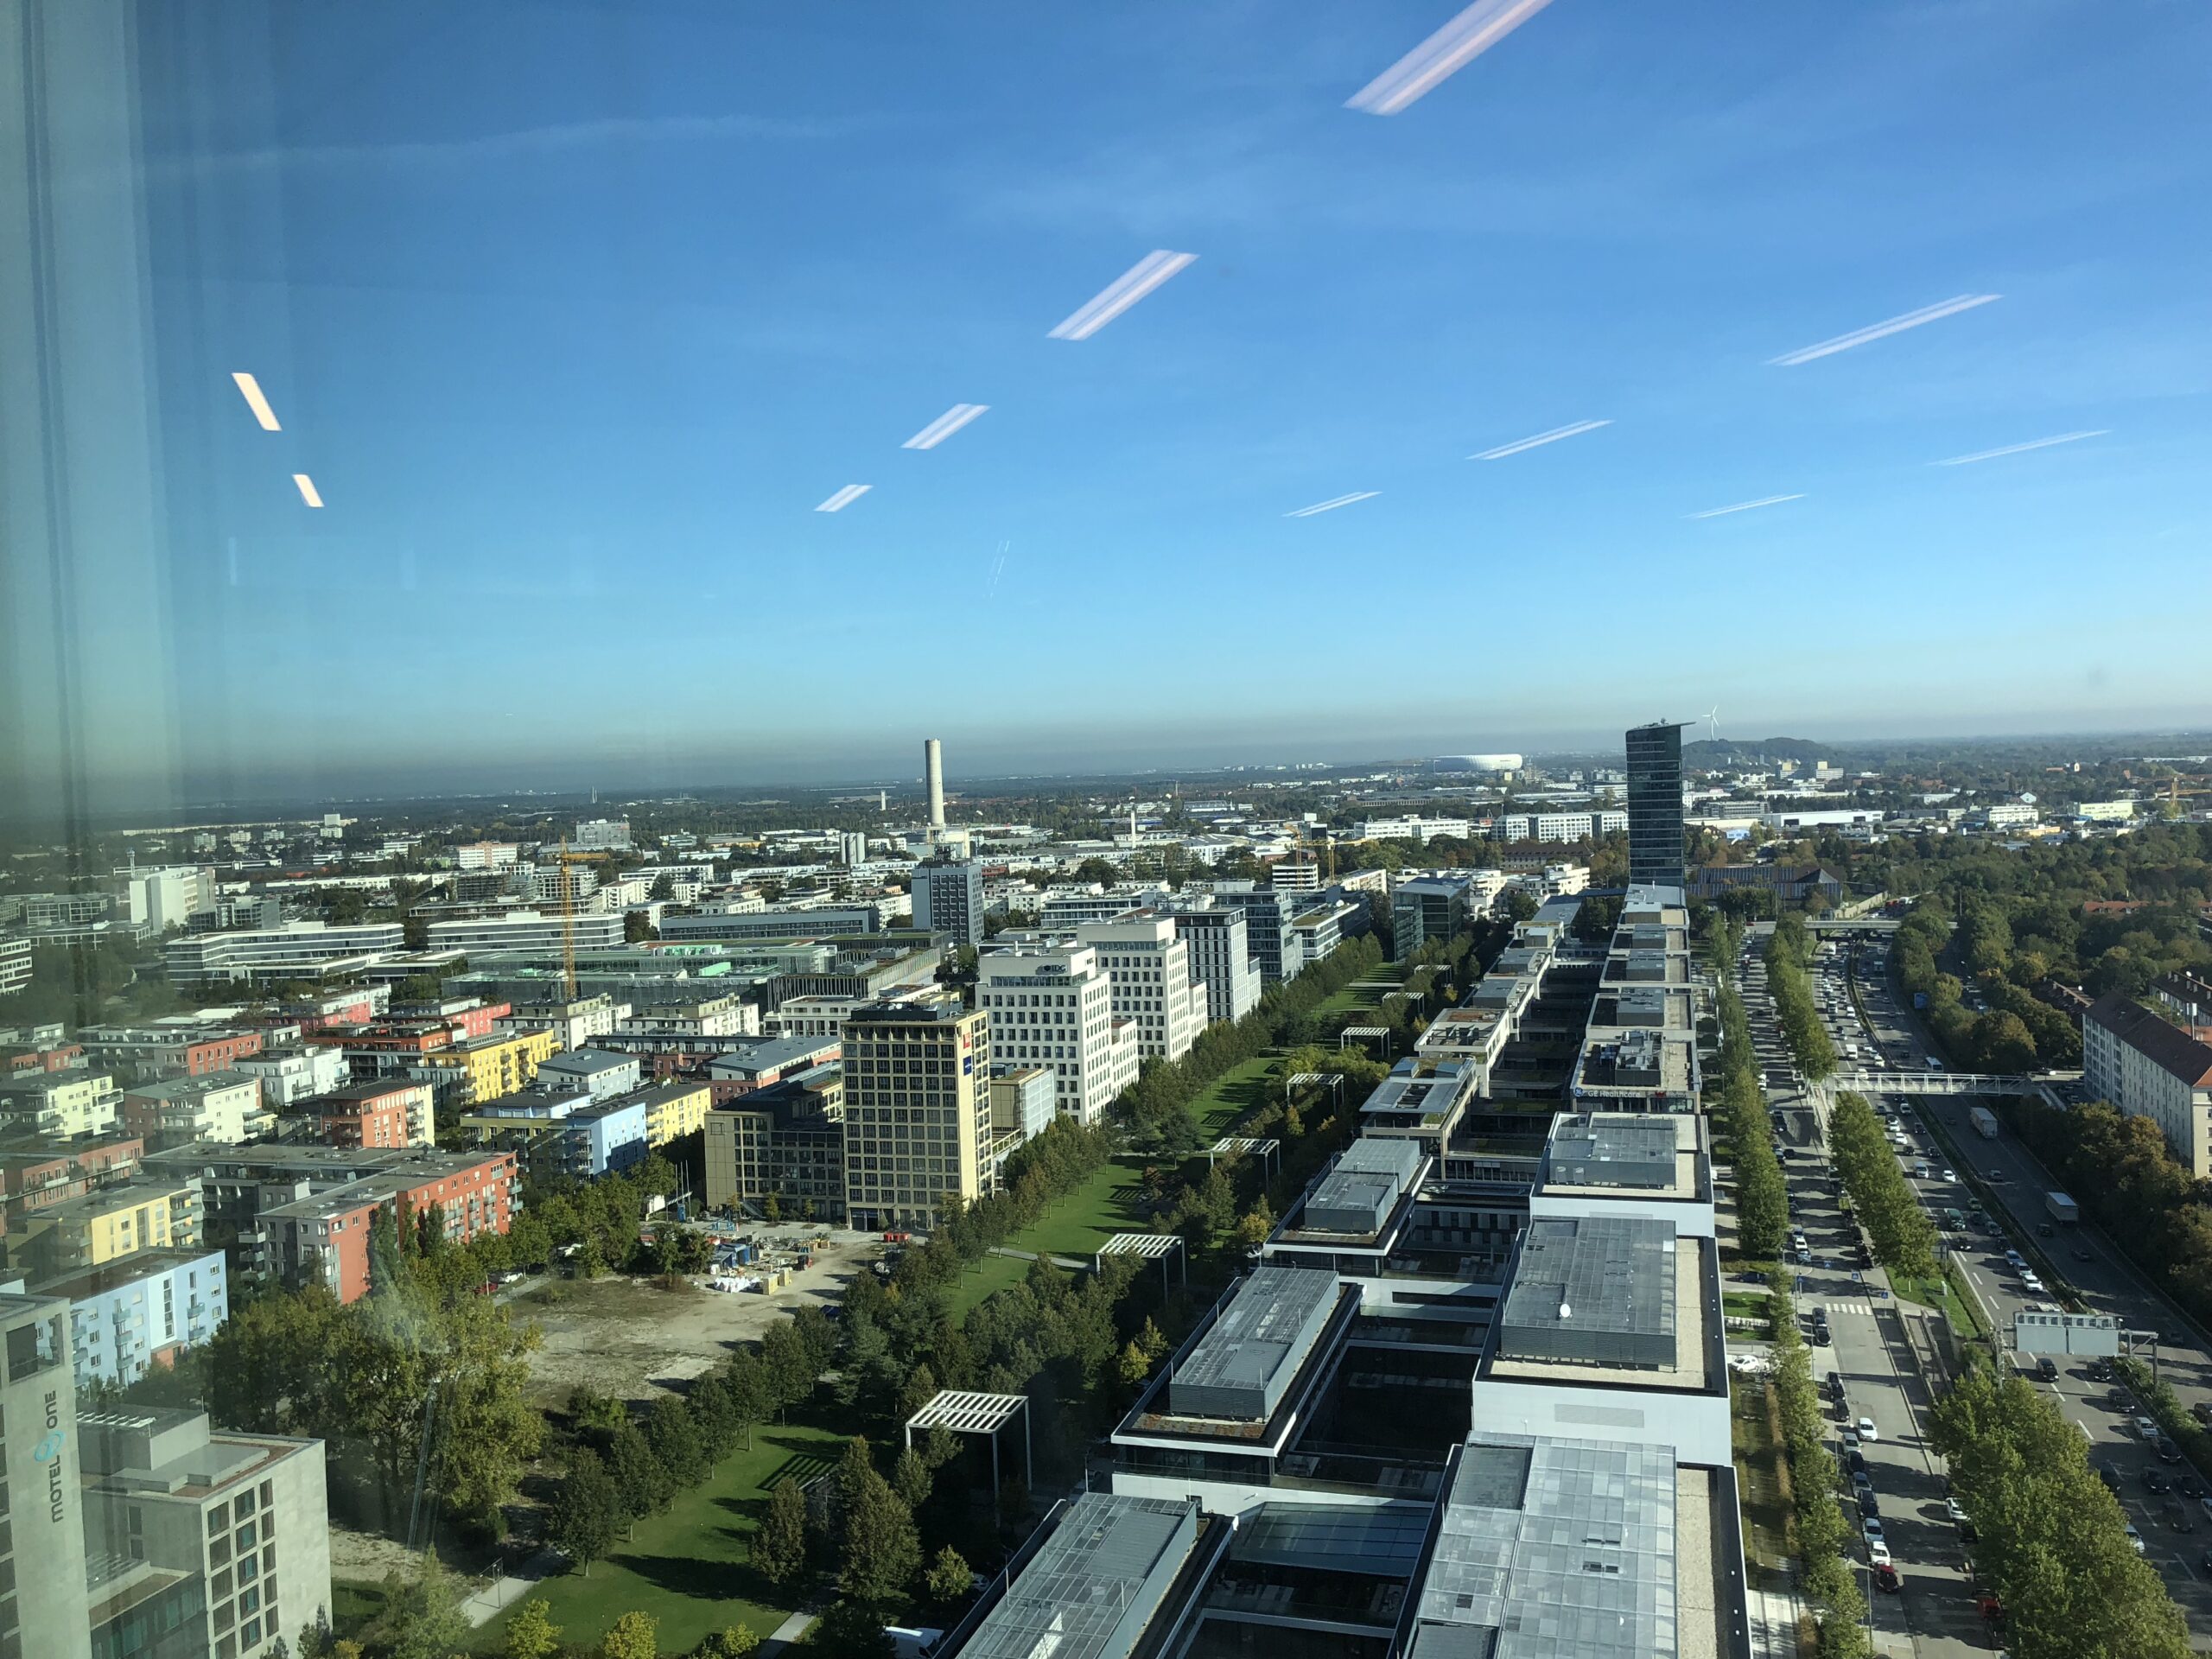
This was held in the beautiful IoT Tower, on the 21st floor wit ha stunning view over Munich.
Back to Rhapsody
The Willert Support Department had some interesting cases last weeks, unfortunately not much to write about, there was a very hard to trace installation bug that did apparently influence only 1% of the people, difficult to track but IBM has found it and it is solved.
There is an iFix3 for the latest Rhapsody 8.3.1, see the download portal for the Release Notes.
The RXF
The RXF V7 is also becoming more and more updates. The actual version is V7.03, it now includes CMSIS1&2, OO-RTX, FreeRTOS, embOS, Windows, Linux, COO-RTX. In planning are QNX and Cygwin.
Examples are available for the Keil LPC1700 Board but also for the Infineon XMC4500relaxKit
The RXF-Cert is under construction for C++, so there is a lot going on in the Willert Lab!
So. Short but powerfull!
Have fun modeling with Rhapsody!
Walter van der Heiden (wvdheiden@willert.de)


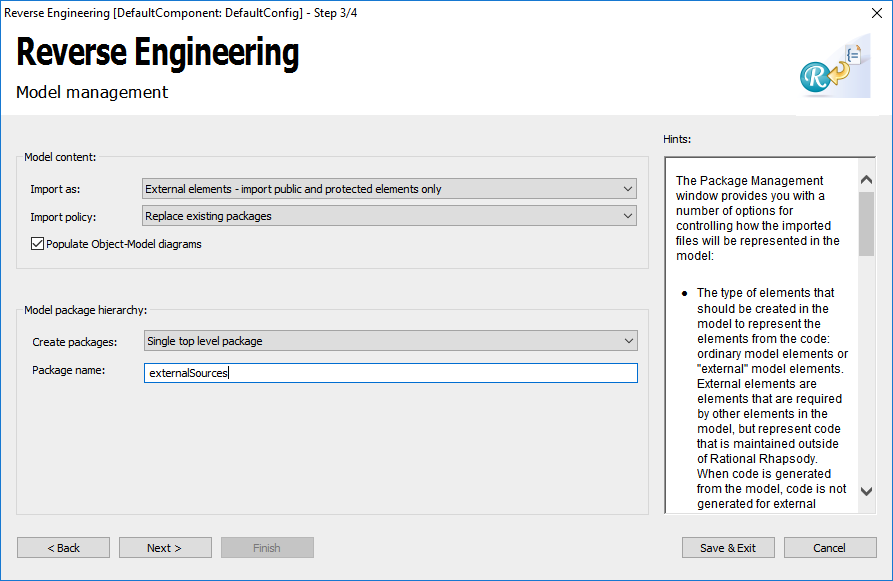
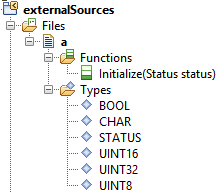
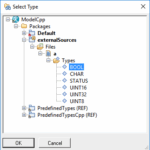

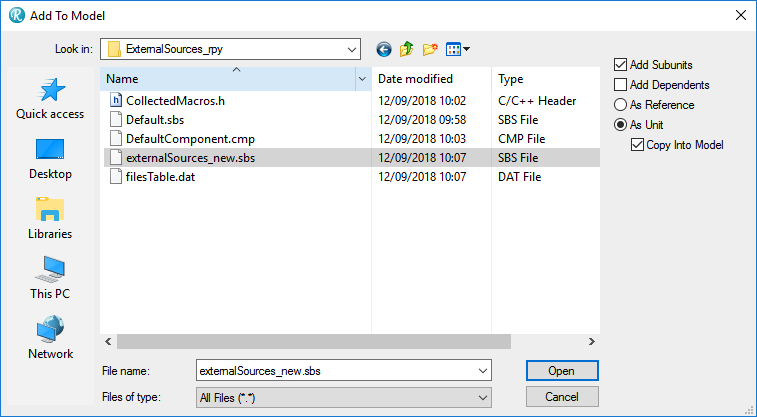
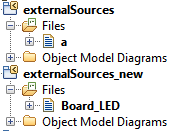
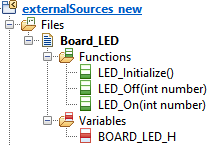 At the package icon the small yellow arrow shows that no code is generated for the content of this package.